Microsoft AppSource offers Data Export Service for Dynamics 365. Using Data Export Service you can synchronize your Dynamics 365 Cloud Database nearly real-time to a specified Azure destination like Azure SQL Database.
This article explains how to Install the Data Export Service app onto your existing Dynamics 365 environment.
How to do it
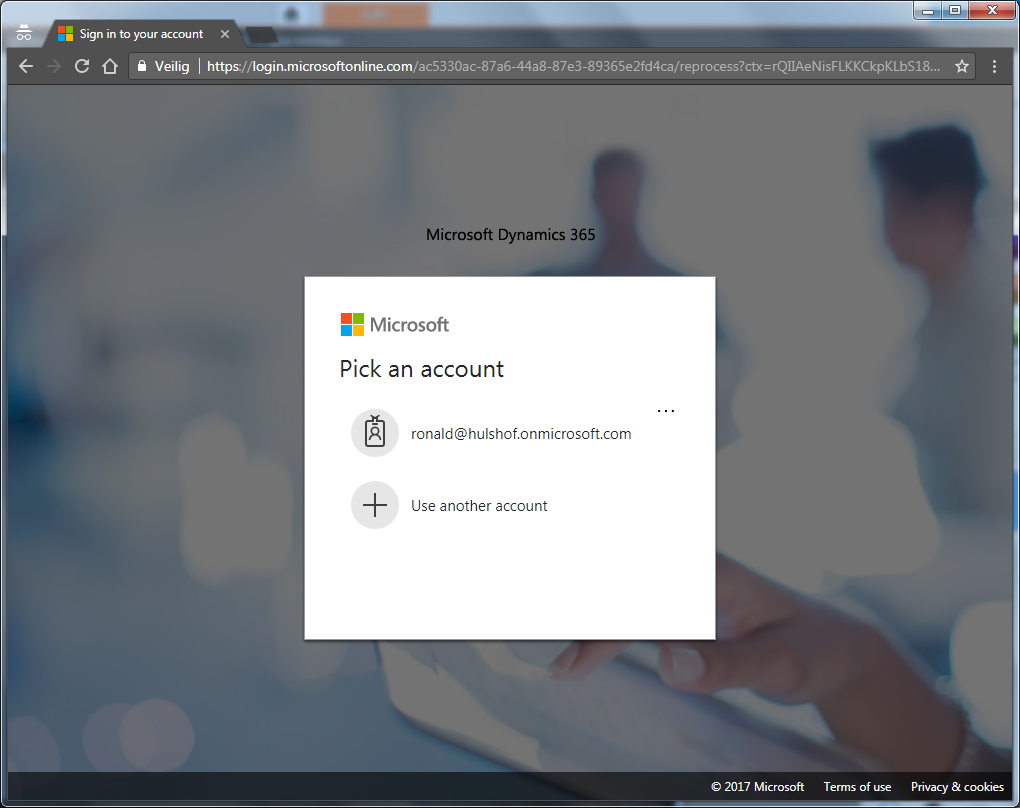
Step 1 – Sign-in to CRM
Sign-in to your CRM Instance having Administrator Privileges:
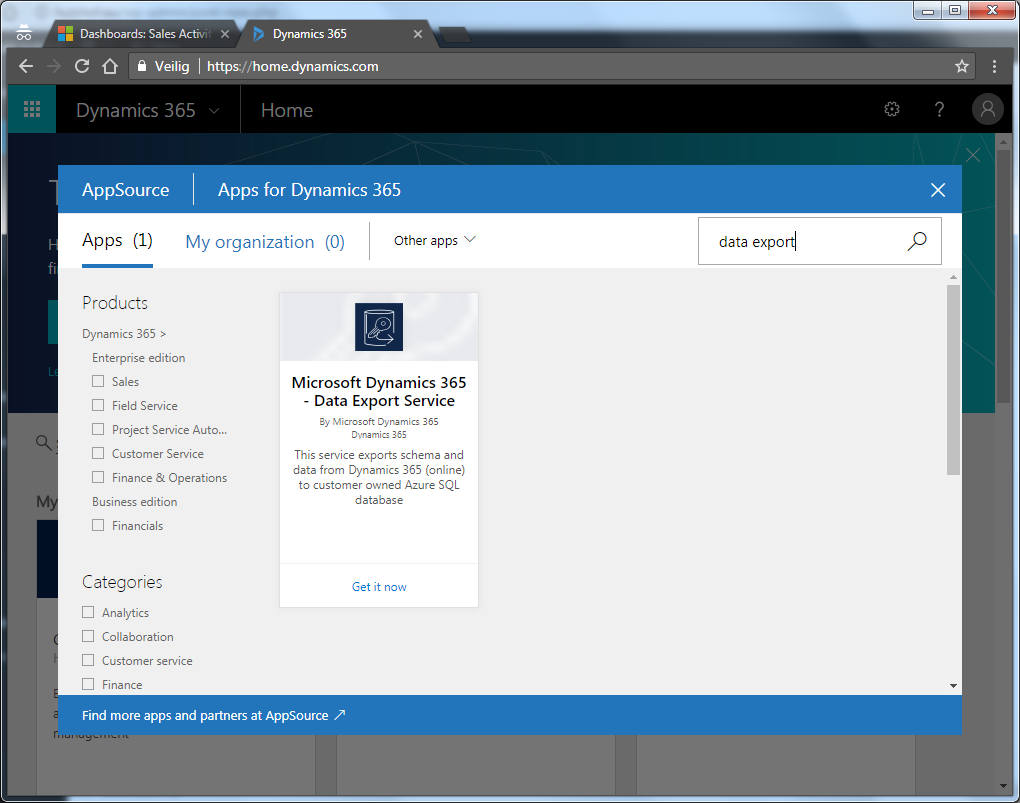
Step 2 – Install App
Go to https://home.dynamics.com. Click on the “Get more apps” button. Search for “Data Export”. Then under “Microsoft Dynamics 365 – Data Export Service” click on the “Get it now” button. Then approve and click “Continue”.
Step 3 – Select Tenant
Select the Tenant you wish to install Data Export Service on:
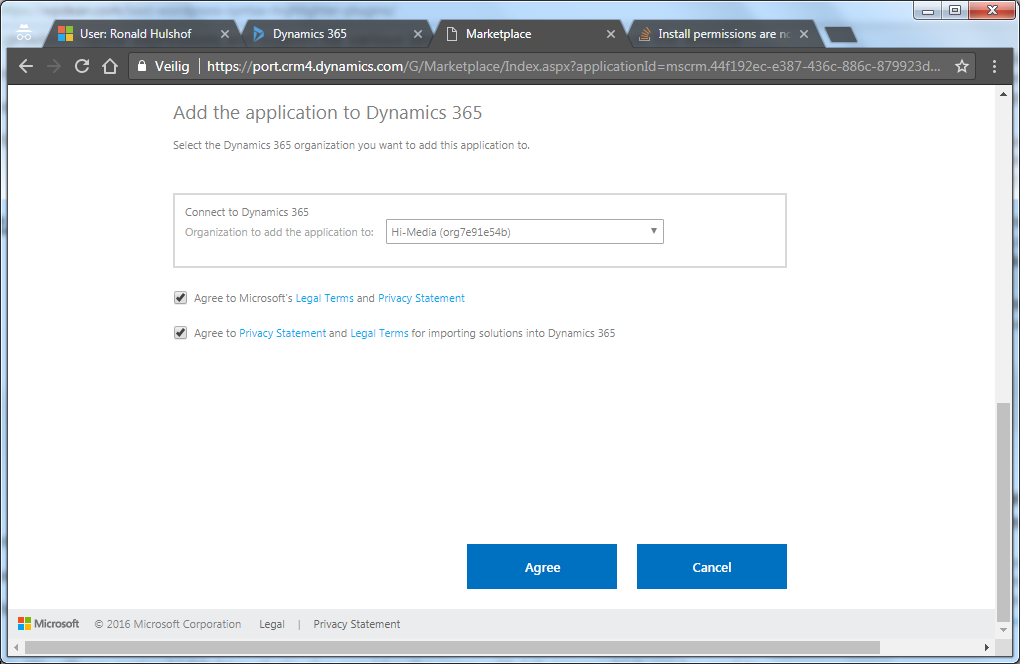
- If you are not allowed to install an application onto your D365 Tenant, explicitly promote your CRM User to Admin first. More on StackOverflow.
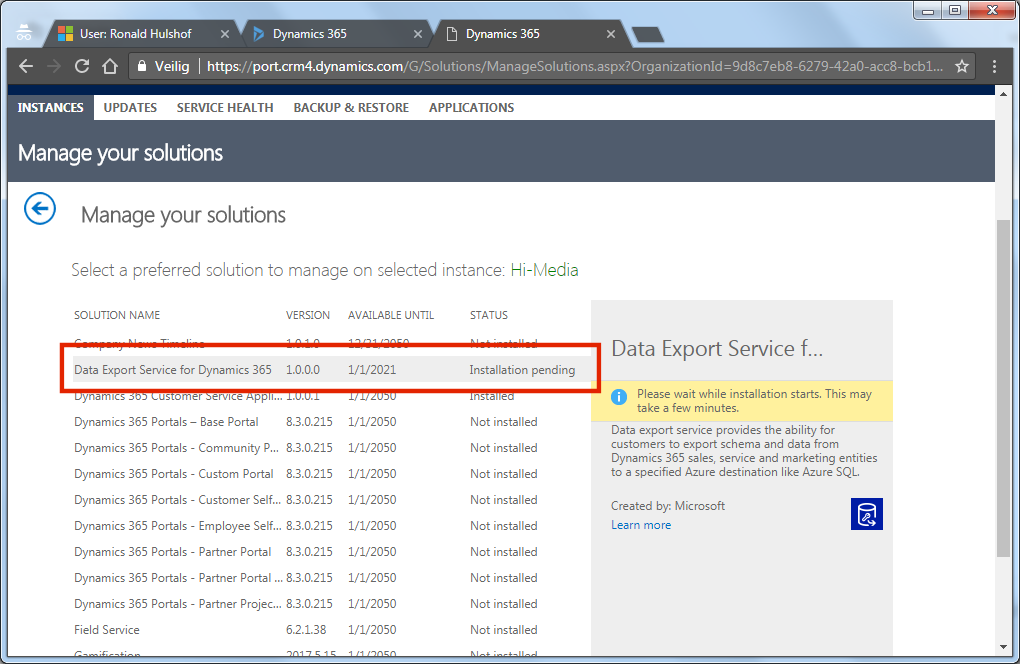
Step 4 – Wait for Installation
Solution Manager will show “Installation pending”. After a few (up to 20) minutes (hit F5/Refresh to refresh the browser) the status should change to “Installed”:
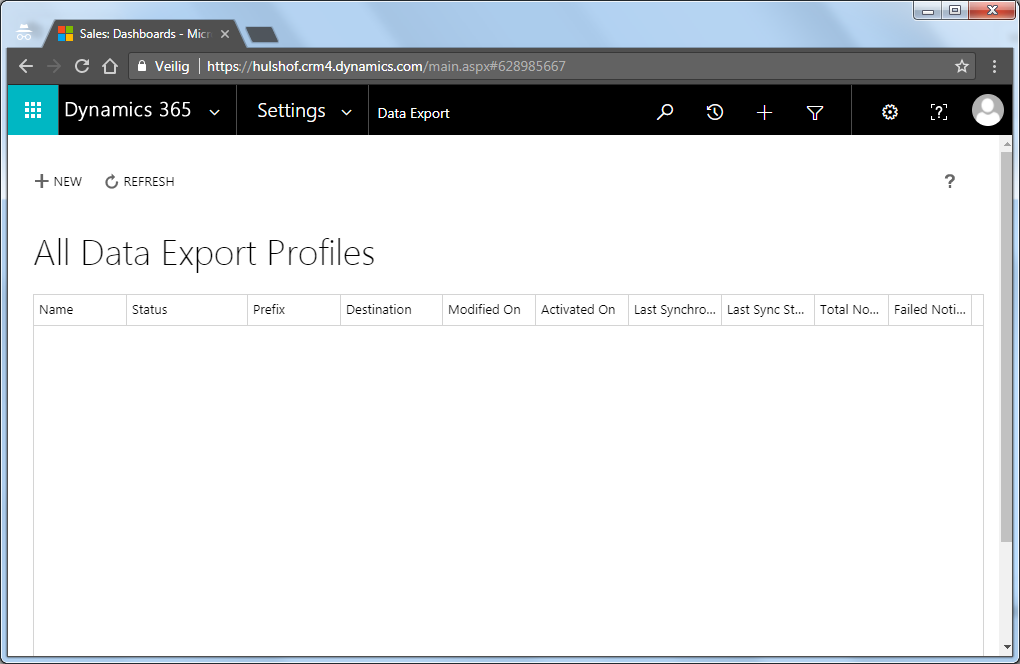
Step 5 – Locate Data Export in Ribbon
Go to Settings -> Data Export:

- If “Data Export” is not available, do a hard refresh (press CTRL + F5) of the Browser History first.
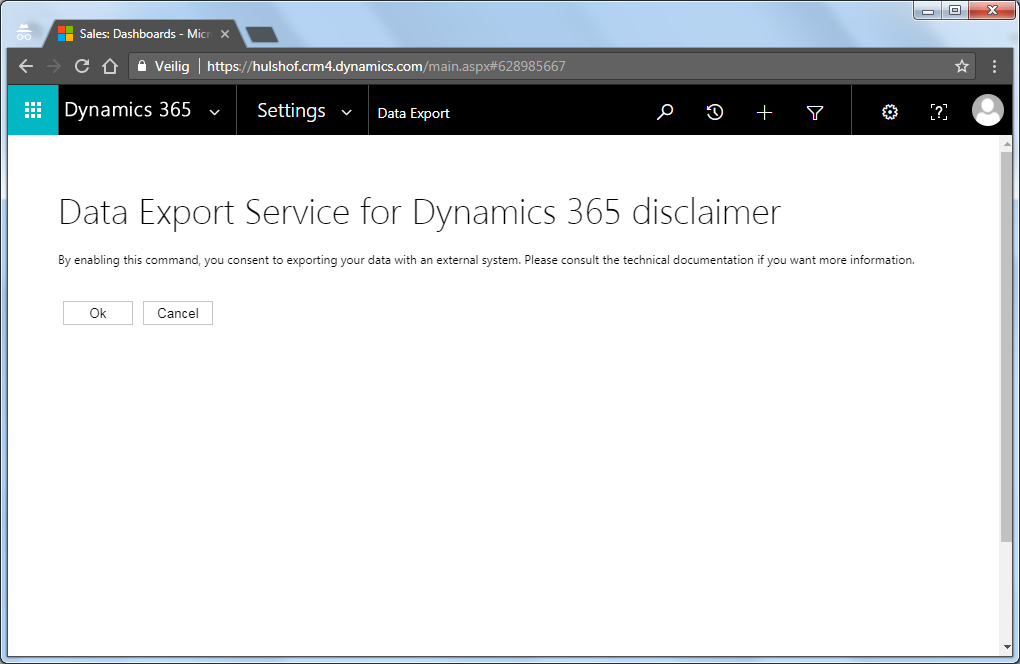
Step 6 – Approve data export
Press “Ok” button to allow Data Export Service to export data from your Dynamics 365 environment:
- If the page remains blank for about 60 seconds (yes, it takes this long for the page to load properly), make sure your browser allows popups for your Tenant’s URL.
- If the “Ok” button remains unresponsive, use the Google Chrome browser with Chrome Developer Tools (press F12) enabled.
Step 7 – Verify installation
Upon successful installation, Data Export Service should display as follows: